In my previous posts, I've focused on detecting note-on and note-off transitions from the breath controller, and on mapping the breath intensity to a MIDI continuous controller to control expressive parameters. But the circuits and code have never been able to play more than one note. In this post, I'll discuss how to read a set of finger inputs, like the keys on a woodwind instrument, or the valves of a trumpet.
To keep things simple, I'll start with 3 finger inputs, like found on a trumpet. For a B-flat trumpet, the 3 fingers can be used to play 7 different notes:
Index
Middle
Ring
Note Produced
Up
Up
Up
B-flat
Up
Down
Up
A
Down
Up
Up
A-flat
Down
Down
Up
G
Up
Down
Down
G-flat
Down
Up
Down
F
Down
Down
Down
E
Readers familiar with binary numbers may be saying, "wait, with 3 binary digits, you should be able to produce 2^3, or 8 distinct finger combinations." And you would be right, except that the fingering combination [Index=up, Middle=Up, Ring=Down] produces an "in-between-pitch" note in the lower registers of the trumpet, and is not used.
A Real Instrument
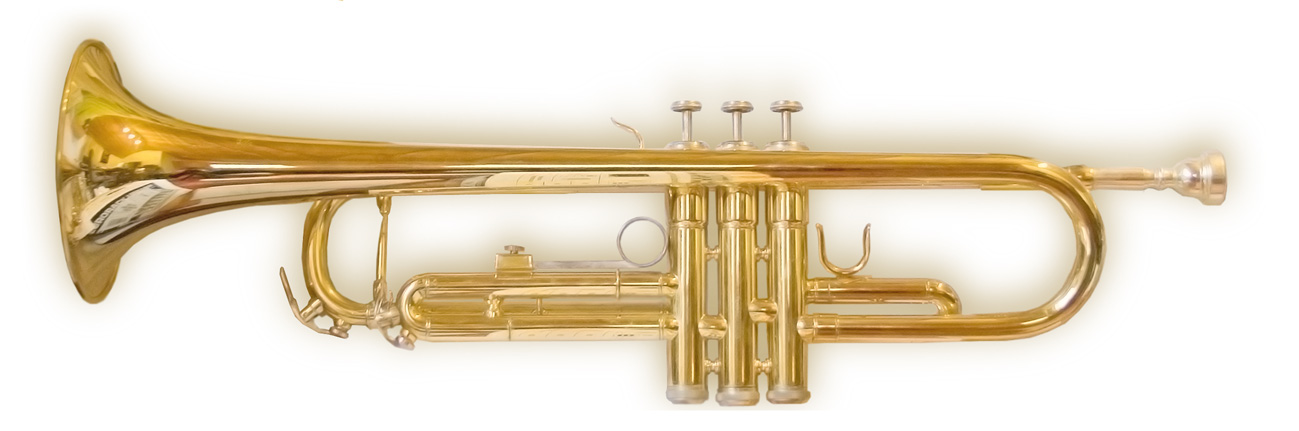
For those of you unfamiliar with how a trumpet works, most have 3 piston valves which re-route the flow of air through the instrument to change the effective length, and therefore the resonant frequency, of the instrument.
A natural way to simulate the operation of a piston valve like this is to use a momentary switch, so let's wire something up. I've used a small tactile switch like the following:
These tactile switches are widely used in consumer electronics, and are very inexpensive.e.g. $0.20 each. They are available from all the major parts suppliers.
I've wired up three of these on a breadboard, spaced approximately finger-width apart:
Now, to be clear, no actual trumpet player would find this thing pleasant to play, as the "feel" of the tactile switches is very different from the feel of an actual piston valve. But it will let us start to experiment with how we can simulate real-world musical instrument properties like trumpet valves and woodwind keys.
To connect these switches to your microcontroller, first figure out which pins are connected when the switch is pressed. If you are using the tactile switches like I am, there are 4 pins on each one, arranged in two pairs. If you find that the switch appears to be always pressed, you may need pull the switch out of the breadboard, rotate it 90 degrees, and re-insert it.
Once the switches are attached to the breadboard, connect one side of each switch to a common wire (this will attach to the ground on your microcontroller). The other side of each switch should be brought out on a separate wire. In total, there will be 4 connections to the microcontroller, like this:
Once you have these wired up, attach Common to the Ground (GND) pin on your microcontroller, and the Index, Middle, and Ring (finger) switch wires to three digital input pins. I've attached mine to digital inputs 2, 3, and 4 on my Teensy microcontroller. If you have yours attached to different input pins, you'll need to modify the code examples below accordingly.
One thing to be aware of is that we're pulling the digital inputs low when the buttons are pressed. So the "valve" will read HIGH when the button is not pressed and LOW when pressed.
Mapping Inputs to MIDI Notes
Now that we have our "trumpet valves" plugged into our microcontroller, how do we get it to send different MIDI notes to our synthesizers according to which switches are pressed?
One approach might be to use a bunch of if/then statements to decide which note to select. It might look like: if (switch one pressed) { if (switch two pressed) { if (switch three pressed) { send E } else { send G } } else { // switch two is NOT pressed if (switch three pressed) { send F } else { send A-flat } etc etc
As you can see, this is pretty hard to read, and it's pretty easy to make a mistake. Plus, imagine how horrifying this code would be if you were trying to build a woodwind controller, which could have as many as 14 or 15 switches.
A better approach is to use binary numbers to map any combination of the switch on/off states to a number. For our trumpet, we only need 3 bits, so all the possible key combinations, and the corresponding MIDI note, can be represented in a new column in our fingering table
Index
Middle
Ring
Note Produced
Binary (Decimal) Value
Up
Up
Up
B-flat
000 (0)
Up
Down
Up
A
010 (2)
Down
Up
Up
A-flat
011 (3)
Down
Down
Up
G
001 (1)
Up
Down
Down
G-flat
100 (4)
Down
Up
Down
F
101 (5)
Down
Down
Down
E
111 (7)
Now that ugly code for deciding which note to play can be replaced with:
if (value = 0) {
send B-flat
} else if (value == 2) {
send A
} else if (value == 3) {
send A-flat
} else if (value == 1) {
send G
} else if (value == 4) {
send G-flat
} else if (value == 5) {
send F
} else if (alue == 7) {
send E
}
We'll actually use a C-language case statement in the sample code, and we'll express the numbers in binary instead of decimal, like this:
switch (value) { case 0: send B-flat; break; case 2: send A; break
and so on.
So let's go ahead and write the sketch for our trumpet. To do that, we'll replace the get_note() function with a new one:
int get_note() { // This routine reads the three buttons that are our "trumpet // valves", and returns a MIDI note. int value = (digitalRead(2) << 2) + (digitalRead(3) << 1) + digitalRead(4); // Since the digital input pins are pulled low when the // button is pressed, the "all valves open" value will // be 111 (binary) or 7 (decimal). Full table: // v1 v2 v3 note value (decimal) // open open open C 7 // open closed open B 5 // closed open open B-flat/A-sharp 3 // closed closed open A 1 // open closed closed A-flat/G-sharp 4 // closed open closed G 2 // closed closed closed G-flat/F-sharp 0 // open open close not used 6 // #define BASE 60 // The base MIDI note value switch (value) { case 7: return BASE; break; case 5: return BASE - 1; break; case 3: return BASE - 2; break; case 1: return BASE - 3; break; case 4: return BASE - 4; break; case 2: return BASE - 5; break; case 0: return BASE - 6; break; default: // If invalid fingering, ignore and return the // currently sounding note. return noteSounding; } } What's going on here?
int value = (digitalRead(2) << 2) + (digitalRead(3) << 1) + digitalRead(4); Here, we're reading the values of the three buttons into a single integer value, using bit shift operators. Let's break it down: First, we declare a variable named "value". For all practical purposes, that starts off as zero, and in binary that is: 00000000 which is 8 bits of binary zeros. (Yes, nerds, it's actually a 32-bit signed integer, but that's not important to this discussion) When we do digitalRead(2) << 2 we're saying "read digital input two and shift the whole value to the left two bits. So if we read 00000001, we'd shift that two bits to the left, so we end up with: 00000100 Then we read digital input three. Suppose we also read a HIGH, and shift left one bit, that ends up being: 00000010 Finally we read input 4, but don't shift it at all. So if we get a HIGH on pins 4, we have: 00000001 Now, we add the following three binary numbers: 00000100 00000010 00000001 and we get:
00000111 So that means the three digital I/O pin we're using are giving the value 1. As I mentioned before, we're taking the digital I/O pins low with button presses, so this binary value 00000111 means no buttons are pressed. In order to make pulling I/O pins low to detect button pressed, we also need to add pullups to the digitnal I/O pins. The Teensy has support for that built-in (otherwise we'd need to attach some resistors between the digital pin and the power rail). We'll add the following code (in blue) to the setup() function:
void setup() { state = NOTE_OFF; // initialize state machine pinMode(2, INPUT_PULLUP); pinMode(3, INPUT_PULLUP); pinMode(4, INPUT_PULLUP); }
We'll also need to change the main loop a little bit to handle the situation where the player chooses a new fingering but keeps blowing. In that case we need to turn off the old note and turn on the new one. So we'll add the following code in the block where we're handing the case where a note is on (new code in blue):
void loop() { // read the input on analog pin 0 sensorValue = analogRead(A0); if (state == NOTE_OFF) { if (sensorValue > NOTE_ON_THRESHOLD) { // Value has risen above threshold. Move to the RISE_TIME // state. Record time and initial breath value. breath_on_time = millis(); initial_breath_value = sensorValue; state = RISE_WAIT; // Go to next state } } else if (state == RISE_WAIT) { if (sensorValue > NOTE_ON_THRESHOLD) { // Has enough time passed for us to collect our second // sample? if (millis() - breath_on_time > RISE_TIME) { // Yes, so calculate MIDI note and velocity, then send a note on event noteSounding = get_note(); int velocity = get_velocity(initial_breath_value, sensorValue, RISE_TIME); usbMIDI.sendNoteOn(noteSounding, velocity, MIDI_CHANNEL); state = NOTE_ON; } } else { // Value fell below threshold before RISE_TIME passed. Return to // NOTE_OFF state (e.g. we're ignoring a short blip of breath) state = NOTE_OFF; } } else if (state == NOTE_ON) { if (sensorValue < NOTE_ON_THRESHOLD) { // Value has fallen below threshold - turn the note off usbMIDI.sendNoteOff(noteSounding, 100, MIDI_CHANNEL); state = NOTE_OFF; } else { // Is it time to send more aftertouch data? if (millis() - atSendTime > AT_INTERVAL) { // Map the sensor value to the aftertouch range 0-127 atVal = map(sensorValue, NOTE_ON_THRESHOLD, 1023, 0, 127); usbMIDI.sendAfterTouch(atVal, MIDI_CHANNEL); atSendTime = millis(); } } int newNote = get_note(); if (newNote != noteSounding) { // Player has moved to a new fingering while still blowing. // Send a note off for the current node and a note on for // the new note. usbMIDI.sendNoteOff(noteSounding, 100, MIDI_CHANNEL); noteSounding = newNote; int velocity = get_velocity(initial_breath_value, sensorValue, RISE_TIME); usbMIDI.sendNoteOn(noteSounding, velocity, MIDI_CHANNEL); } } }
Here's a short video of the sketch in action:
Here's the entire sketch, available at https://github.com/ggood/NoteSelectionTutorial
Thanks for reading. If there's anything you would like me to address in future posts, leave a comment. Next up: how to play more than the seven notes this instrument is capable of playing.
I'm a software engineer with VMware in Palo Alto, CA, and a musician who likes to build crazy musical instruments from microcontrollers. The latest thing I'm working on sonifying air traffic control data.
You will also find a series of blog posts covering the basics of electronic wind instrument controllers - electronic instruments controlled by the performer's breath.
While I can't claim to be an expert in the field, I've tinkered with enough stuff over the past few years that I feel like I've got something to share. Take a look at my intro post:
If you make musical instruments from microcontrollers and have an interesting project to share, let me know and I'll share it here.
Looking forward to comments, and to others building crazy instruments.